Modular Firmware | Accessorizing
An Extensible Plugin based firmware for custom builds.
https://github.com/dairequinlan/mechware
I wanted to build out the original rather simple firmware a little for the keyboard to make it more extensible. Few reasons were to support the possibility of being able to support a split layout, being able to add or remove plugins, and being able to develop new plugins in a modular fashion.
This involved refactoring the existing code a little. The different steps of the process have been separated out like so:

There are 3 different plugin groups, input, wire, and scancode plugins. The plugins are registered and configured programmatically on startup, here is how the current setup is configured, the three plugin groups, each containing one or more plugins, and the scancode plugins (or keyPlugins here) configured with specific lists of activating scancodes:
//keylists for the plugins.
int macroList[] = {KEY_SPECIAL};
int sticKeyList[] = {KEY_FUNCTION,MODIFIERKEY_SHIFT};
int funcKeyList[] = {KEY_FUNCTION};

#define NUM_KEYPLUGINS 3
KeyPlugin* keyPlugins[] = {
      new MacroPlugin(macroList,1),
      new SticKeyPlugin(sticKeyList,2),
      new FnPlugin(funcKeyList,1) };

#define NUM_WIREHANDLERS 1
WireHandler* wireHandlers[] = { //new SerialWireHandler(),
      new USBWireHandler() };

#define NUM_INPUT_DEVICES 1
InputDevice* inputDevices[] = { new MatrixInput() };
The three groups are organised in the source in 3 separate directories:
input/ contains device input plugins, the most important one being the one that performs the scan of the keyboard matrix and does press/release detection and debounce. Further input classes might include I2C or Serial input classes, responsible for reading values from the other half of a split keyboard for example, and inserting them into the chain.
The Input classes call into the KeyboardState class which translates the row/column into a scan code by looking up the relevent Key Map. This scan code is used to call the scan code plugins. These are initialised with one or more scancodes, and can check the those scan codes during the plugin execution to determine functionality.
plugin/ contains these scancode plugin types, each gets called in turn with scancode events passed up from the input/ plugin chain, and can perform operations. The current scancode plugins are:
- FnPlugin : handles Fn(s) key on my current board, pressing the key raises the current Keymap level (currently there are only two in my config), releasing the key lowers it (to the base level again). A similar ‘LevelPlugin’ could be used to handle two keys, to raise and lower through arbitrary key map levels.
- SticKeyPlugin : checks for double clicks on specific keys, and if registered, will return ‘false’ to swallow the relevent ‘KEY_RELEASE’ event, those resulting in the key never being un pressed. I have it setup on Fn keys and the left Shift key to allow me to toggle the keyboard into the Function layer without having to hold the Fn key down, and on the left shift to approximate the Capslock (which has been replaced by another Fn key on the left)
- MacroPlugin : If held down, will record up to 100 keystrokes, returning false as it does so, then if ‘clicked’ will replay those keystrokes. Holding it down for more than 2 seconds without pressing anything else will clear the current buffer. This is a good example of some fairly sophisticated time based functionality in a plugin. Also a bit of a WIP, at the moment it will only handle 1 key as the macro key correctly.
wire/ if all the scan code plugins return true, the wire plugin chain is called. There are two at the moment,
- USBWireHandler: outputs key press and release events on USB so the keyboard can function as, well, a keyboard.
- SerialWireHandler I was using this as an alternative to the USB handler while debugging, it’s useful sometimes when your keyboard-in-progress DOESN’T act like a keyboard, when you screw stuff up.
KeyboardState
The KeyboardState class holds the current state of all the keys, the configured lists of scancode and wire plugins, and the configured keymaps. It also stores the index of which keymap is currently the active one.
Its main activity loop is invoked by one of the input handlers, it gets the appropriate scancode given the row and column info, and runs the scancode then wire plugins, so long as each returns true:
//This is a debounced key transition from one of the scans in the InputDevices
void KeyboardState::keyEvent(int state, int row, int col) {

  int scanCode = getScanCode(row, col);
  //first plugins, and bail out of the loop and method
  //if any of them return false.
  for(int plugin = 0; plugin < nKeyPlugins; plugin ++) {
    if(!keyPlugins[plugin]->keyEvent(state, scanCode, this)) {
      return;
    }
  }
  //now our wire handler(s). We'll do this in a separate method
  //because the plugins can actually call this same method and
  //in that case we want all the wire handlers run as though there
  //was a key event.
  runWireHandlers(state, scanCode);
}

//run the wire handlers in order, bail if any of them return false;
//this can be run from
//    1. the normal key event method above,
//    2. plugins that transmit something directly on the wire
//    3. a couple of other methods here like the reset
void KeyboardState::runWireHandlers(int state, int scanCode) {
  for(int wireHandler = 0; wireHandler < nWireHandlers; wireHandler++ ){
    if(!wireHandlers[wireHandler]->keyEvent(state, scanCode, this)) {
      return;
    }
  }
}
It contains methods to change the currently active keymap, via its ‘raise’ and ’lower’ methods, which change the current index and reset the current keystate depending on the specifics of the keymaps:
//functions to raise and lower the active keymap
//for the Fn key this will likely just be 0 and 1 but for multi layer keebs
//this could be arbitrary so may as well bake this in from the start
void KeyboardState::raise() {
  if(activeKeyMapIndex < (nKeyMaps-1)) { //we can do a raise op
    activeKeyMapIndex ++;
    resetKeyStates(keyMaps[activeKeyMapIndex-1], keyMaps[activeKeyMapIndex]);
  }
}

void KeyboardState::lower() {
  if(activeKeyMapIndex > 0) {  //we can do a lower op
  	activeKeyMapIndex --;
    resetKeyStates(keyMaps[activeKeyMapIndex+1], keyMaps[activeKeyMapIndex]);
  }
}
Resetting the key states might be necessary as, following a map change, the same key might still be physically pressed, but be bound to a different scancode.
/* Pressing the FN key could potentially shift the scan code between the key being
   pressed and being released. If the FN key is hit then any pressed keys have to
   be reset to be in the 'released' state and their iter counts set to DEBOUNCE_ITER+1.
   Quick improvement: Only do this if the scan codes are different in the two maps.
   This means that any keys that are the same between the layers like the
   modifiers will remain pressed. */

void KeyboardState::resetKeyStates(int fromKeyMap[NUM_ROWS][NUM_COLS],
                                   int toKeyMap[NUM_ROWS][NUM_COLS]) {
  //set the initial values on the iter count and state arrays.
  for (int row = 0; row < NUM_ROWS; row++) {
    for (int col = 0; col < NUM_COLS; col++) {
      //only reset if it's not a 'dupe' key i.e. same as previous layer either explicitly or with the TRNS keycode.
      if(fromKeyMap[row][col] != TRNS && toKeyMap[row][col] != TRNS &&
                            toKeyMap[row][col] != fromKeyMap[row][col]) {
        keyIterCount[row][col] = DEBOUNCE_ITER + 1;
        //if it's currently PRESSED then we have to 'release' the 'from' map keycode, and 'press' the 'to' keycode
         if(keyState[row][col] == KEY_PRESSED) {
            int fromKeyCode = getScanCode(fromKeyMap,row,col);
            int toKeyCode =   getScanCode(toKeyMap,row,col);
            runWireHandlers(KEY_RELEASED, fromKeyCode);
            runWireHandlers(KEY_PRESSED, toKeyCode);
        }
      }
    }
  }
The current wire handler plugin chain has to be run here to release keys if necessary, and press the key that’s bound to the new active keymap.
Sticky Key Plugin Walkthrough.
The Stickey Key plugin is a good example of how expressive a simple chain like this can be. The Macro plugin is a more complicated example.
Each plugin, as above, is run in turn. If any one returns false the chain is terminated, no more scancode plugins are run, and none of the wireplugins are run.
This is the ‘keyEvent’ from the Sticky key plugin:
bool SticKeyPlugin::keyEvent(int state, int scanCode, KeyboardState* kbState) {
    if(state == KEY_PRESSED) {
        lastKeyPressed = scanCode;
        lastKeyPressedTs = millis();
    } else { // key released, this is where all the magic happens
        if(lastKeyPressed == scanCode && (millis() - lastKeyPressedTs < STICKEY_TIMEOUT)) { // A CLICK ! A VERITABLE CLICK ! TODO check timing here
           //this is a CLICK so check see if the LAST clicked key WAS THIS ONE AS WELL
           if(lastKeyClicked == scanCode && (millis()-lastKeyClickedTs < STICKEY_TIMEOUT)) { // ok so last click WAS ALSO this scan code i.e. double click.
               if(isKey(scanCode)){
                   //so we have a double click on one of our keys.
                   //we return false to swallow this KEY_RELEASED
                   return false;
               }
               lastKeyClicked = NOK;
           } else {
               lastKeyClicked = scanCode;
               lastKeyClickedTs = millis();
           }
        }
    }
    return true;
}
This maintains a little state machine, keeps track of clicks (KEY_PRESSED then KEY_RELEASED in less than STICKEY_TIMEOUT ms) and double-clicks (two clicks in less than STICKEY_TIMEOUT) and if it registers a double click, returns false, terminating the plugin chain.
This relies on being before the FnPlugin as well as the WireHandlers for effect, as if it returns false, the FnPlugin will never recieve a KEY_RELEASED for a pressed Fn key, and the Wire Handlers will never recieve a KEY_RELEASED for, say, SHIFT/CTRL/ALT (or whatever it’s configured for).
Yes I thought calling this the SticKeyPlugin was clever. It’s a decision I’ve regretted every time I mistype it.
The FnPlugin is probably the simplest example of a scancode plugin, it holds no state, and just reacts to KEY_PRESSED and KEY_RELEASED events on whatever scancodes are configured on it (typically whatever the Fn keys are).
bool FnPlugin::keyEvent(int state, int scanCode, KeyboardState* kbState){
    if(isKey(scanCode)) {
        if(state == KEY_PRESSED) {
            kbState->raise();
        } else {
            kbState->lower();
        }
    }
    return true;
}
If the board was configured with more than two layers, a similar ‘LayerPlugin’ could be written that would be configured with two distinct ‘raise’ and ’lower’ keys, and would call the appropriate KeyboardState method given the key pressed.
Planned Work
- Setup a proper build system and move off the Arduino framework. At the moment I’m relying on Platform IO and its vscode plugin to build. Probably also involves writing some base level HID classes to replace the Arduino ‘Keyboard’ class which I’m currently using.
- Find a better way of encapsulating the config somehow, at the moment it’s defined in the main.cpp file and the pin configuration in the MatrixScan input device class (where, arguably, it belongs of course)
- Currently if the plugins want to do something that involves pressing a key they have to call the wirehandler chain directly with the scancodes and key state. They should instead be sticking them onto an existing queue of keys, all of which are sent through the scan code plugins. This would facilitate some other behaviours around timing that would be useful. I.E, tap|hold type behaviour.
- Allow chords to trigger plugins i.e. CTRL+ALT+P might printscreen etc etc
Source is available here https://github.com/dairequinlan/mechware
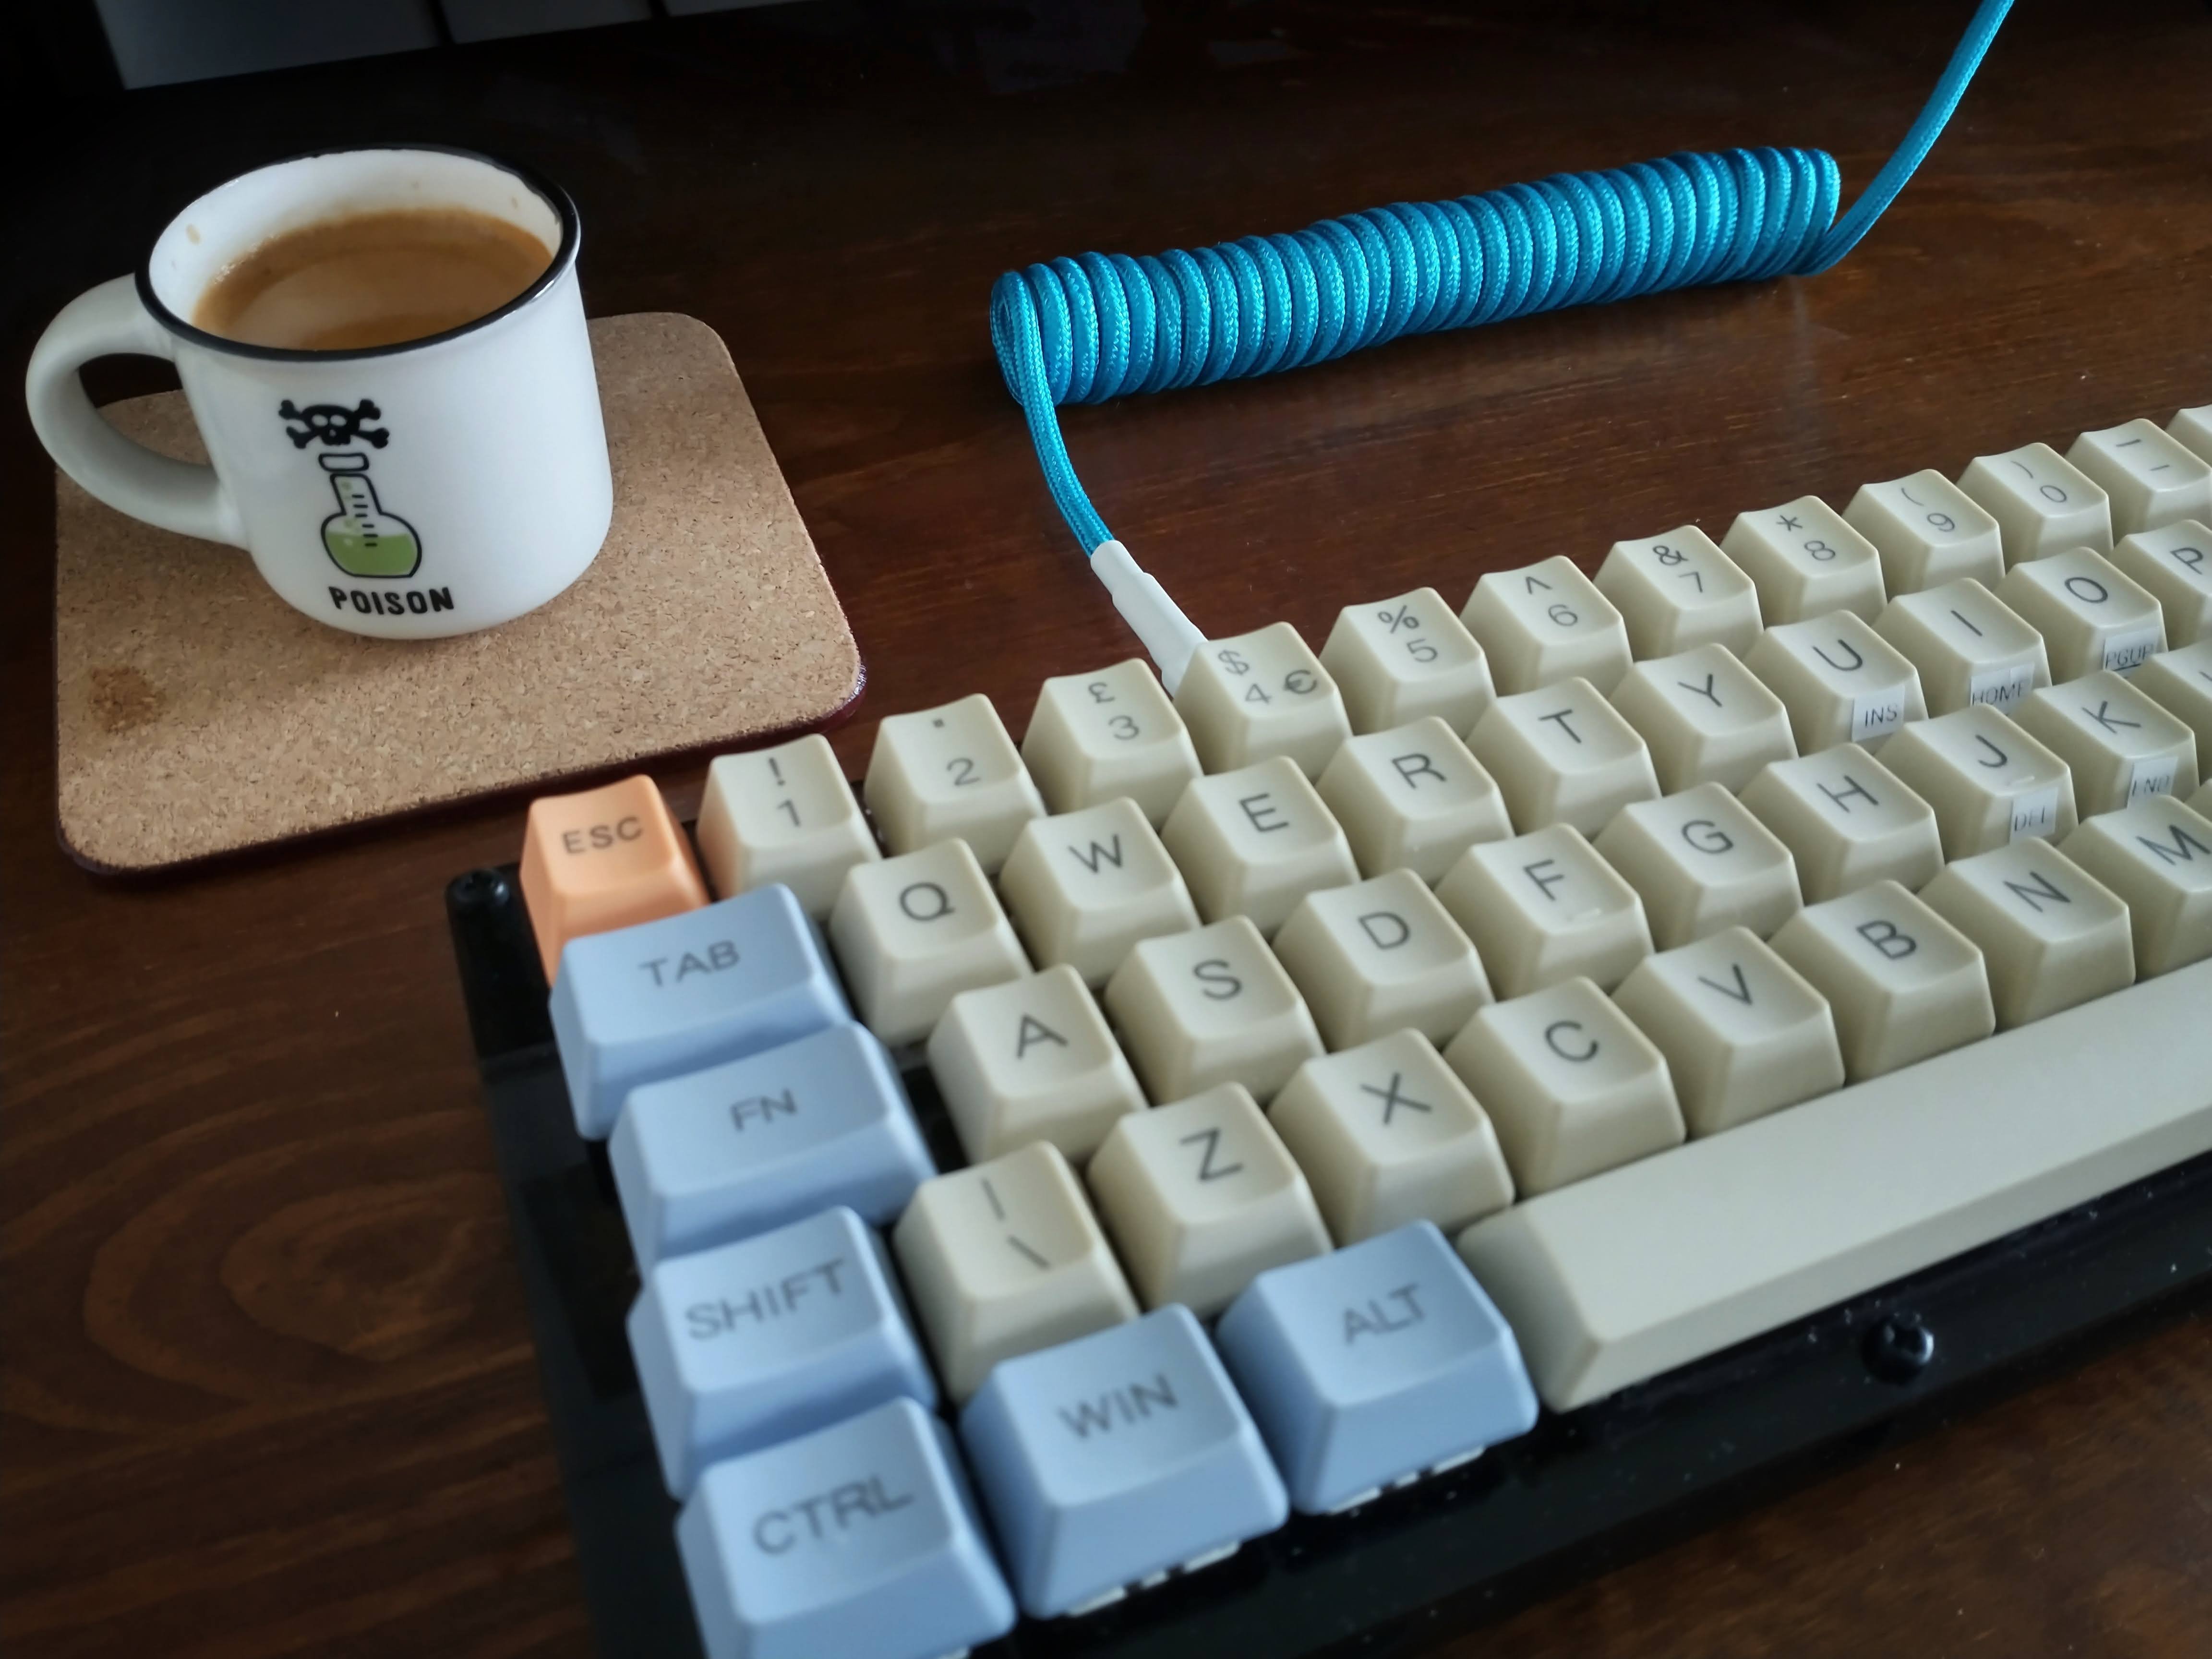
And Now for Something Completely Different.
A vist to Reddit’s (infamous) /mk sub, https://www.reddit.com/r/MechanicalKeyboards/ will be replete with gorgeous images of keyboards that their creators regard as labours of love as much as functional tools. One thing that every keyboard simply must be adorned with is the obligatory coiled USB cable, complete with seemingly vestigial aviator connectors.
I mean, it simply wouldn’t do that my keyboard had a plain old black micro USB cable, that wasn’t even coiled.
I got coiling.
This started off life as …
- some 4 core shielded cable
- a couple of solderless USB connectors, in this case 1 USB A and one micro USB
- about 250cm of 550 Paracord, blue
- White heatshrink
Assembly is easy.
- Attach one of the USB connectors,
- Slide on the paracord to sleeve the entire cable, bit of judicous trimming is necessary here, either to the paracord or the cable.
- Get the heatshrink onto the connector. This holds both the connector together and firmly attaches the paracord. I attached the micro connector first, then some heatshrink over the end of the cable/connector attchment, then some larger diameter heatshrink over the connector body itself.
- Attach the OTHER connector, and apply the same heatshrink procedure as above.
Explanation above is of course missing the step where you attach the second connector, assemble it all, secure the cable, and only then realise that you didn’t put the heatshrink onto the cable first, necessitating disassembly of the entire connector.
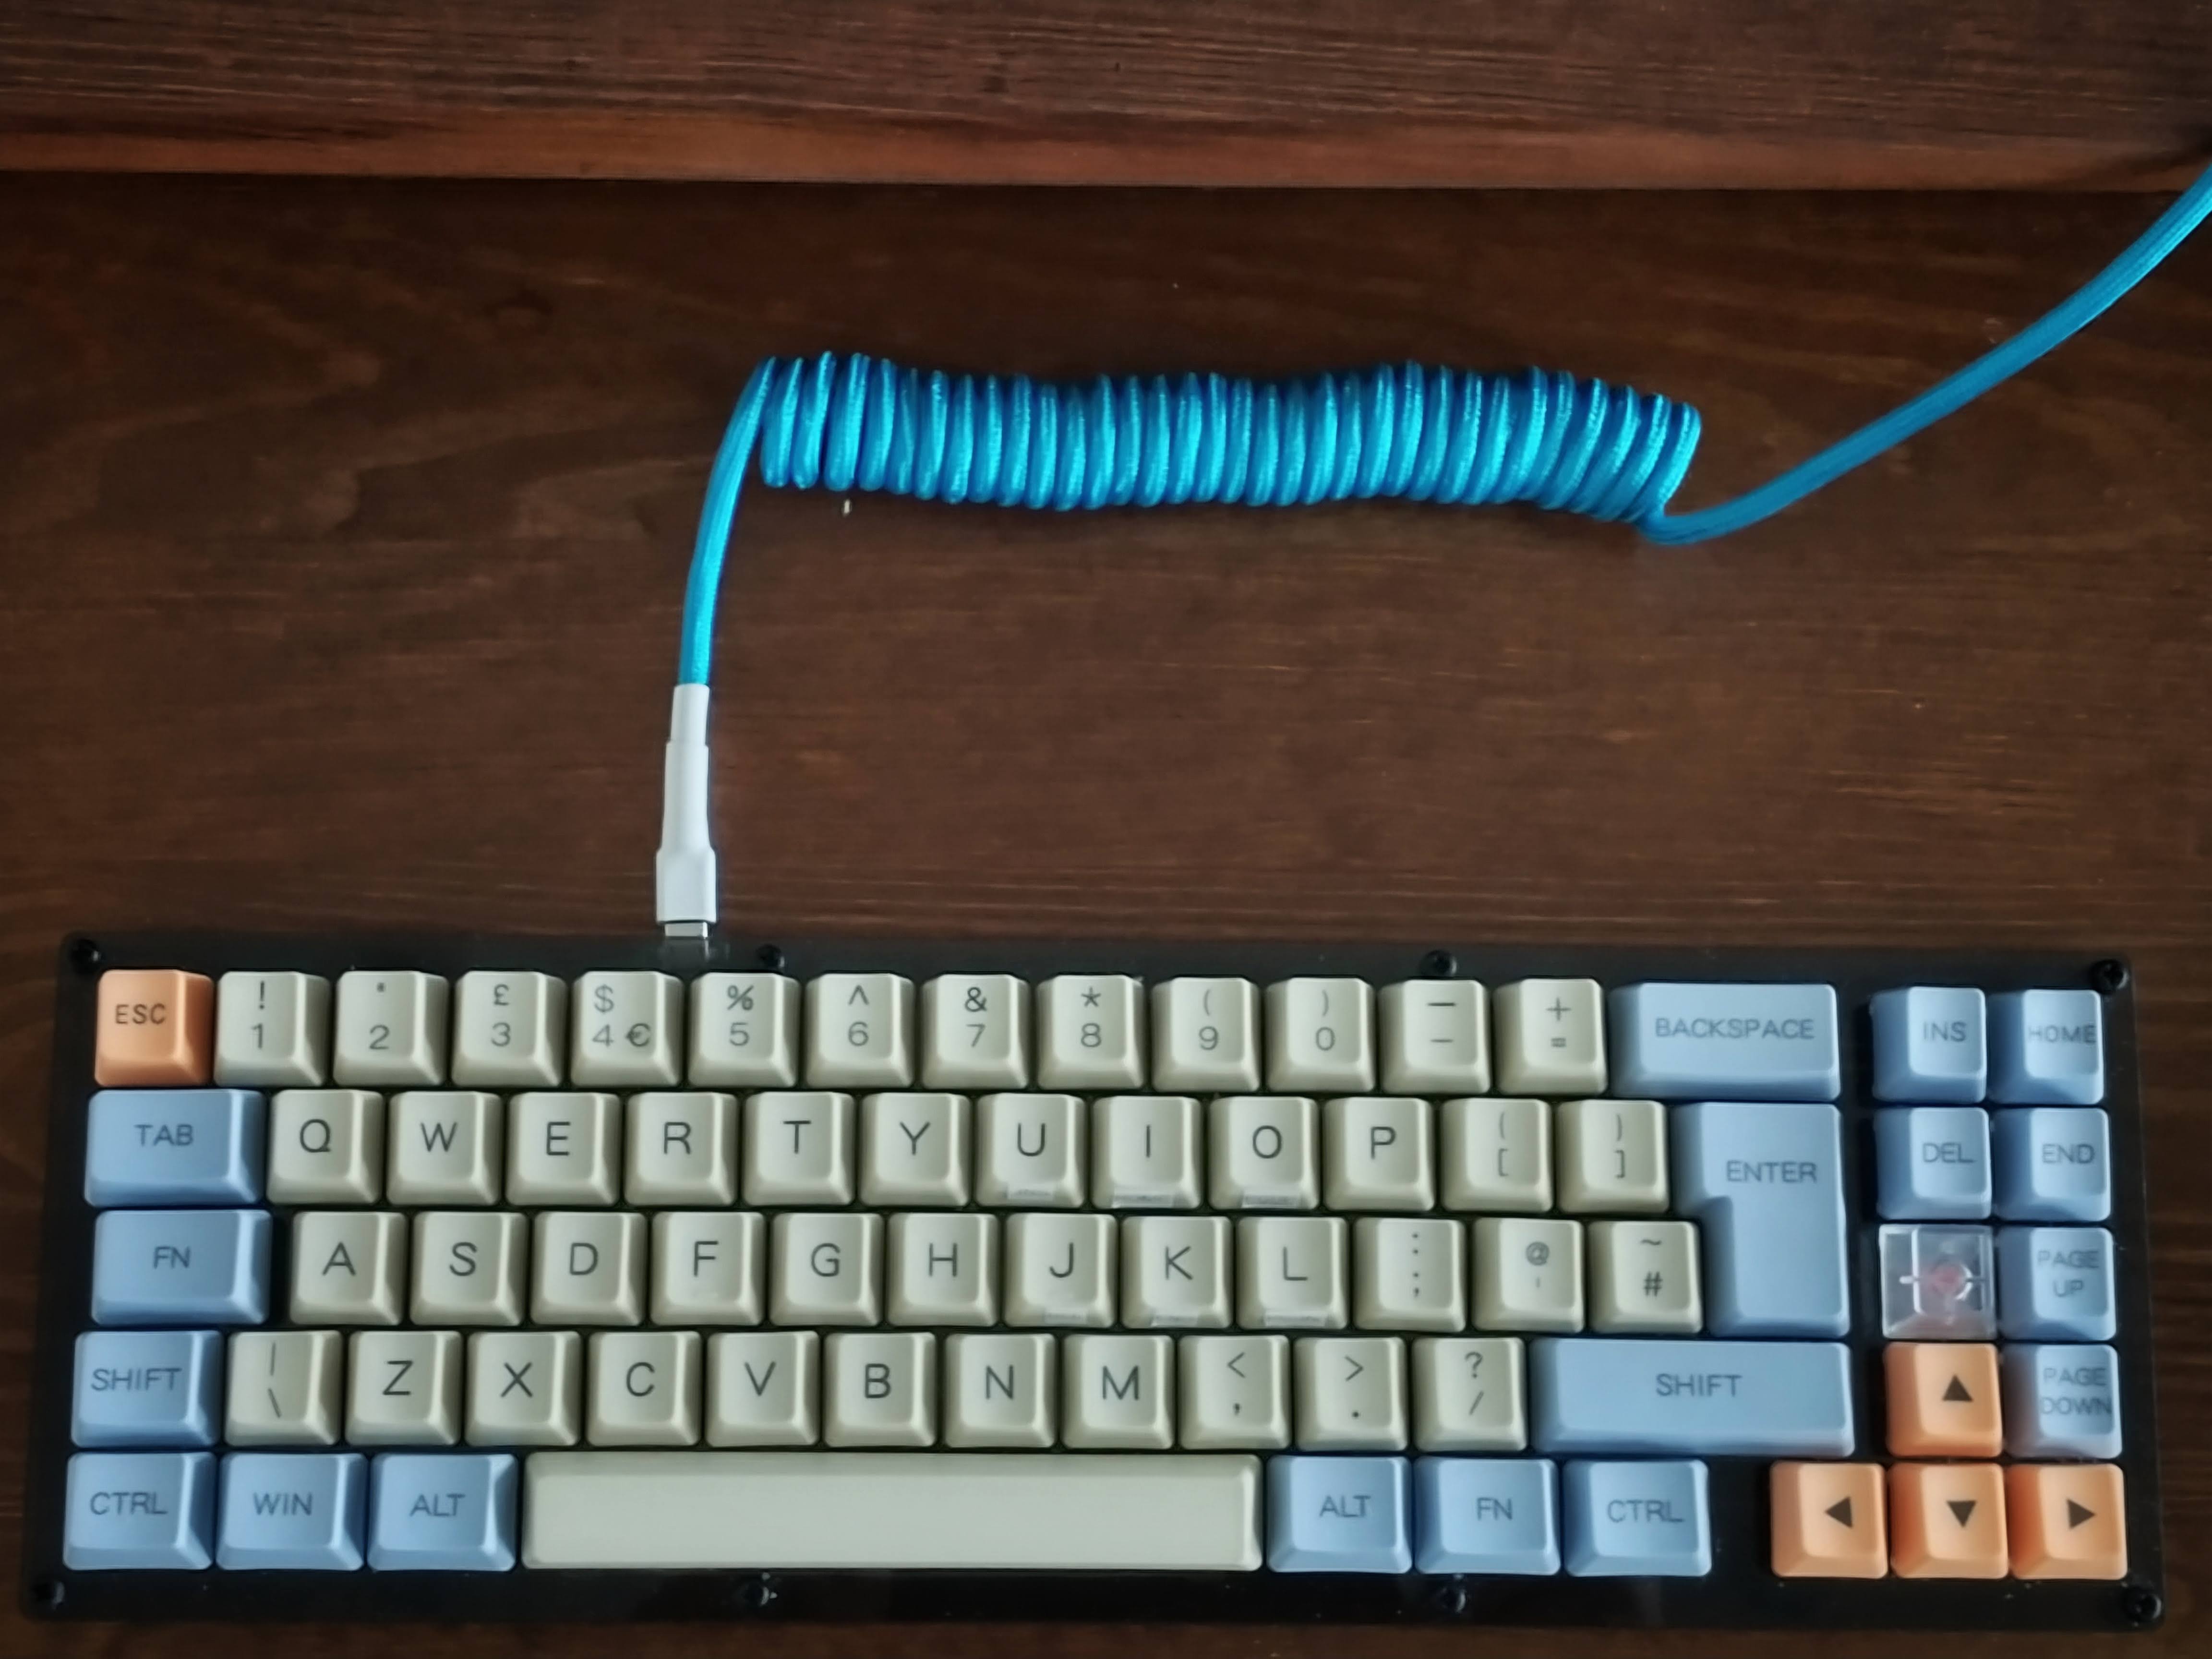
Ultimately they end up looking fairly neat. Heatshrink does a great job of hiding dodgy connections and bits of sticking out shielding etc.

The Coil
To get, and set, that nice coil, the accepted method is to coil it tightly around something (I used a 1.5cm dowel), then heat it liberally with a heatgun or, in my case, a hairdryer. Few minutes to get the entire thing up to temperature, then leave to cool. At this point you can take it off the dowel and leave it, but those coils are a bit … floopy. You can, instead, reverse coil it to make it a little more robust.
Reverse Coiling
There are a couple of ways to do this, one is to hold one end of the cable in a vice or something, stretch it taut, then reverse twist the other end either by hand (slow) or using a drill (fast, possibility of tearing the cable to shreds) until the entire thing has tightly wound itself back up again when you loosen the slack.
Second method, which I used, is to do it on the dowel itself, I unfastened one end of the coil, unwrapped the entire thing, then proceeded to wrap it again the opposite direction. This is easier done than explained, a picture would have helped. Upshot is a nice tight coil on the cable that can be stretched to a degree and will spring back.
And, one last pic in-situ…