
The Keyboard - Part 1
Build log for a compact 65%-ish hand wired Mechanical Keyboard. First up, initial design decisions, switch selection and What Not To Do With Your Plate.
I caught the mechanical keyboard bug a while back, and eventually decided to put one together myself, mostly for fun. Plan is for a hand wired, plate mounted 65%-er, and I intend to write my own firmware for it. Where’s the fun in making a keyboard if you can’t write your own firmware!
The layout is as above, I have years of ISO muscle memory built up which I’m too lazy to change, so there’s nothing revolutionary here. I code, so those funky layered 40% layouts are just not going to work for me. Not having a full normal layout arrow cluster would probably also drive me bananas.
Two online tools are invaluable for anyone embarking on this. The first one is the Keyboard Layout Editor which is pretty self explanatory. The second is the swillkb Plate and Case builder which can take the JSON output from the keyboard layout editor and produce CAD files for laser cutting services.
The JSON for the Layout Editor for the above layout is here: https://github.com/dairequinlan/the-keyboard/tree/main/design
Which results in this SVG from the swillkb builder after fiddling around with the options a bit (original SVG here):

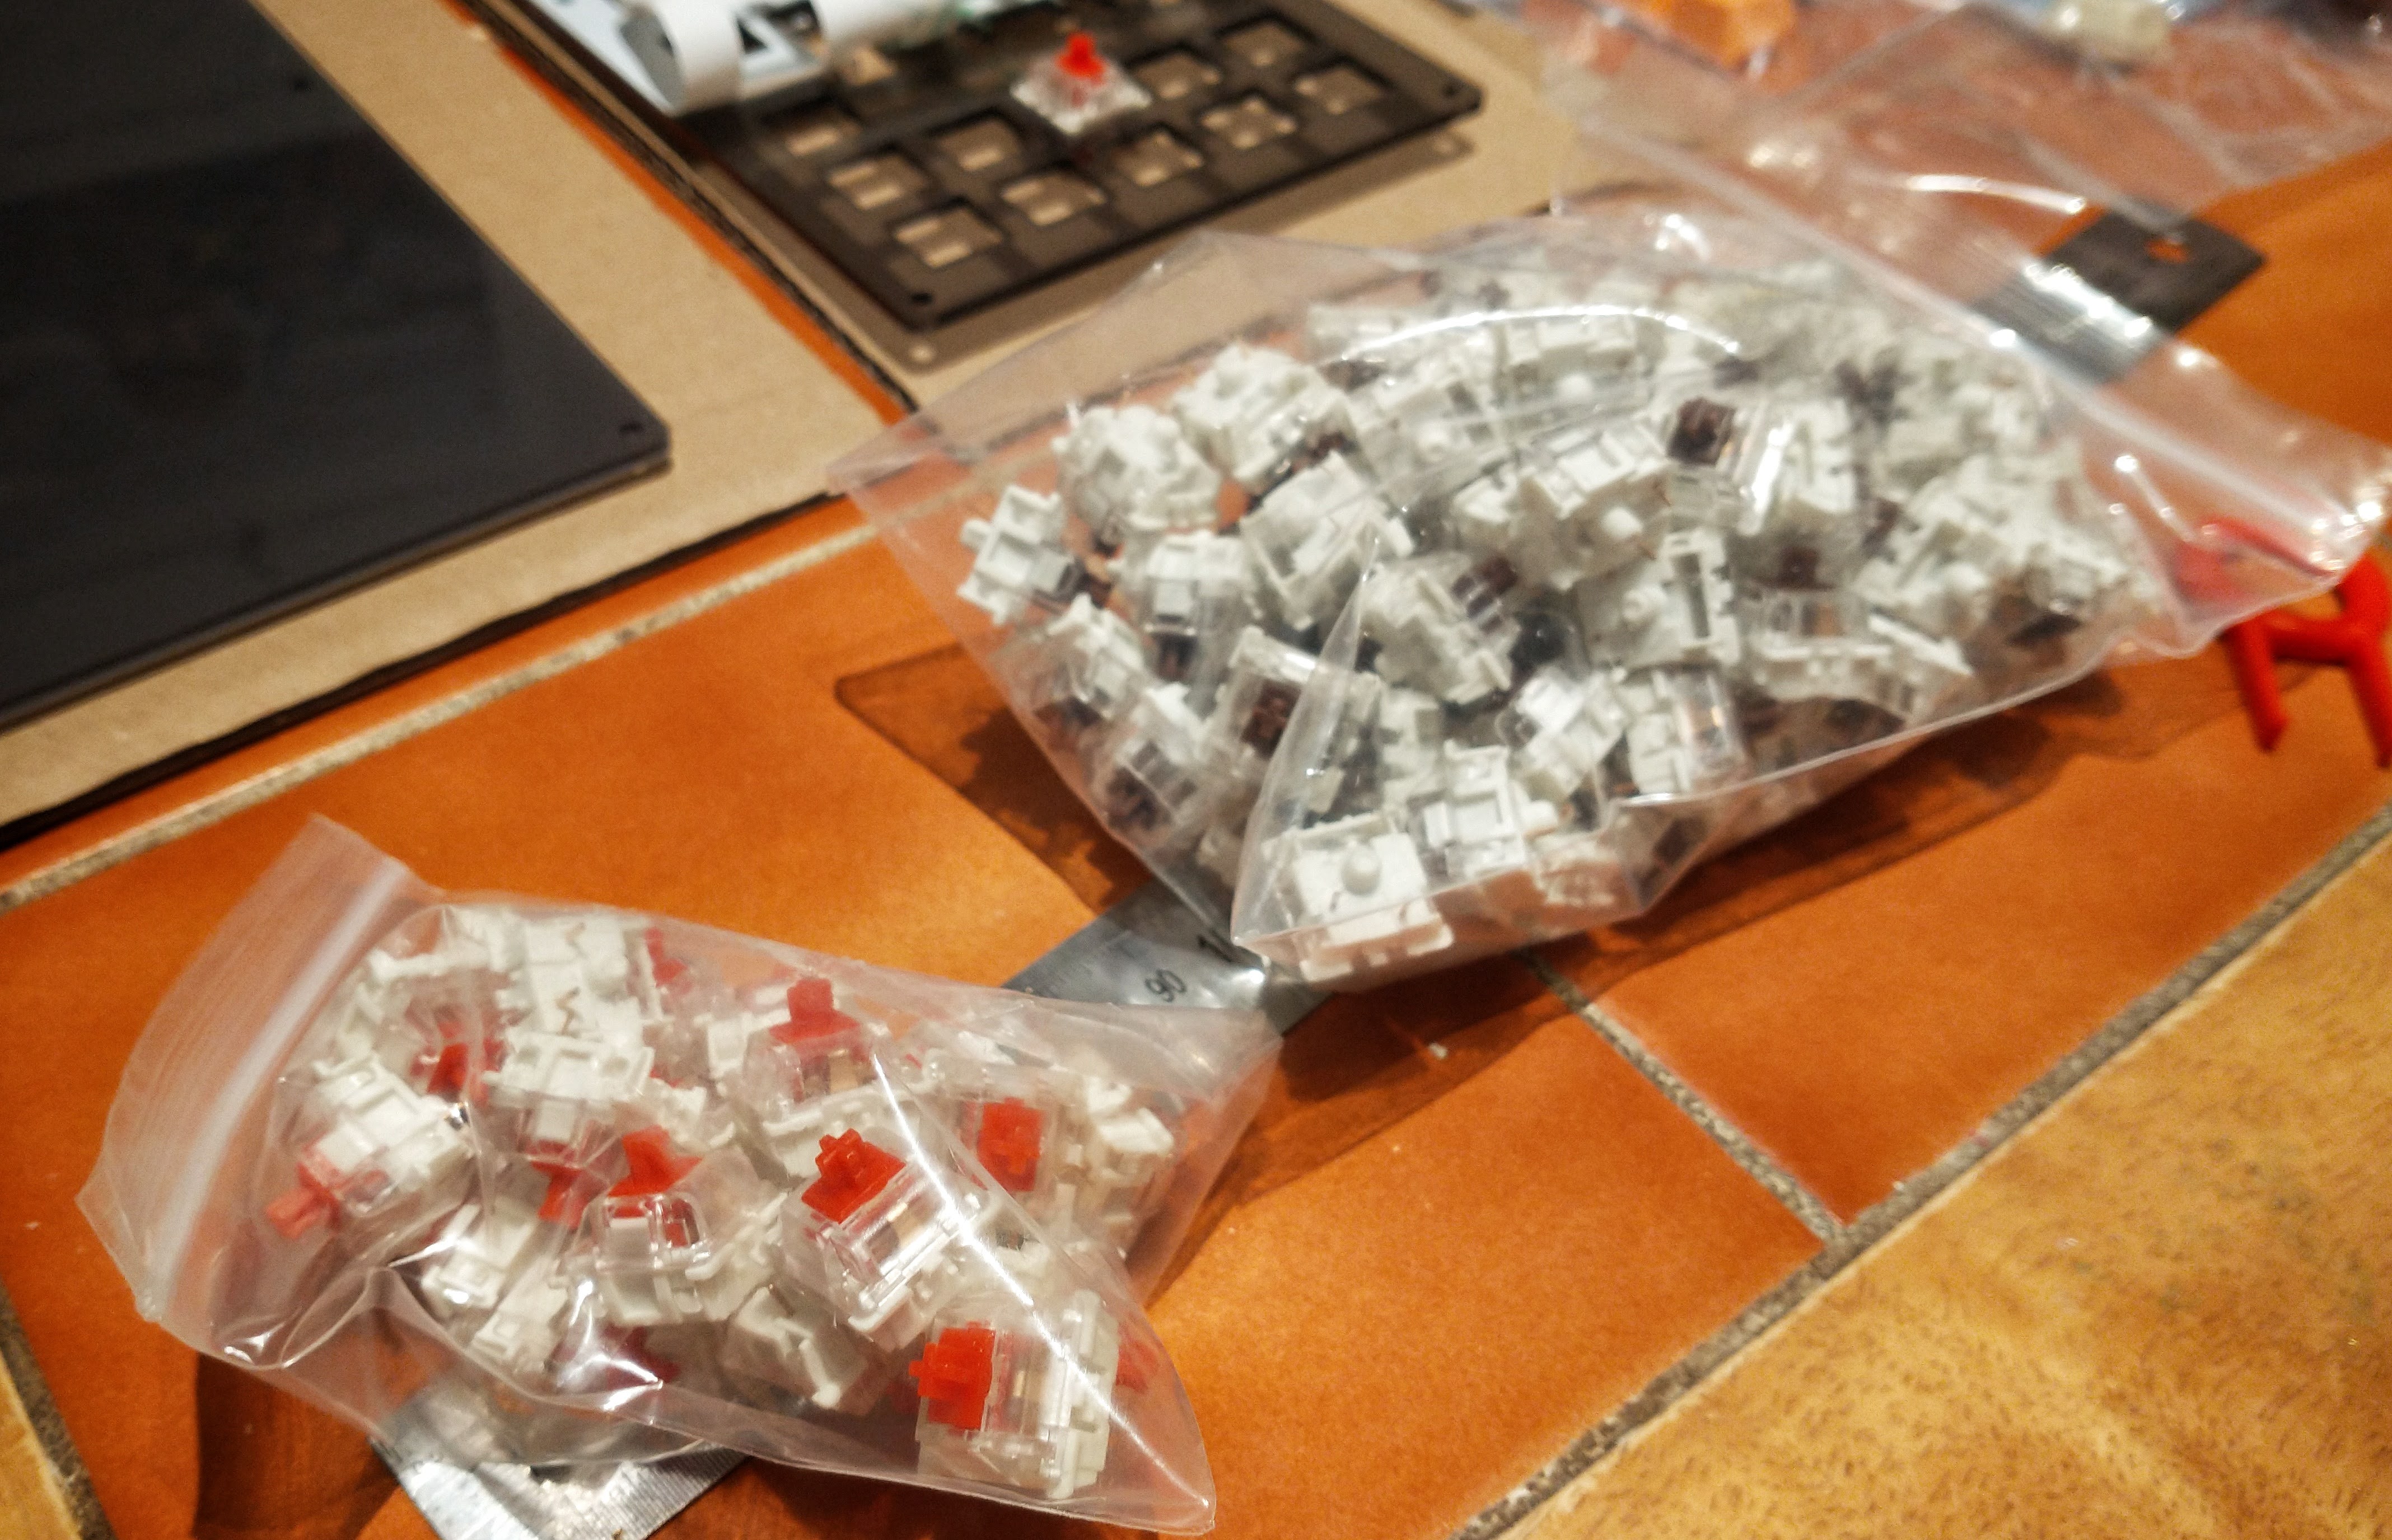
I used Snijlab to do the laser cutting, 3mm Acrylic (more on that later …). I ordered keycaps and switches on Amazon. 80 Brown Gaterons, and 20 Red Gaterons for the modifiers.
Everything gradually trickled in, first the switches;
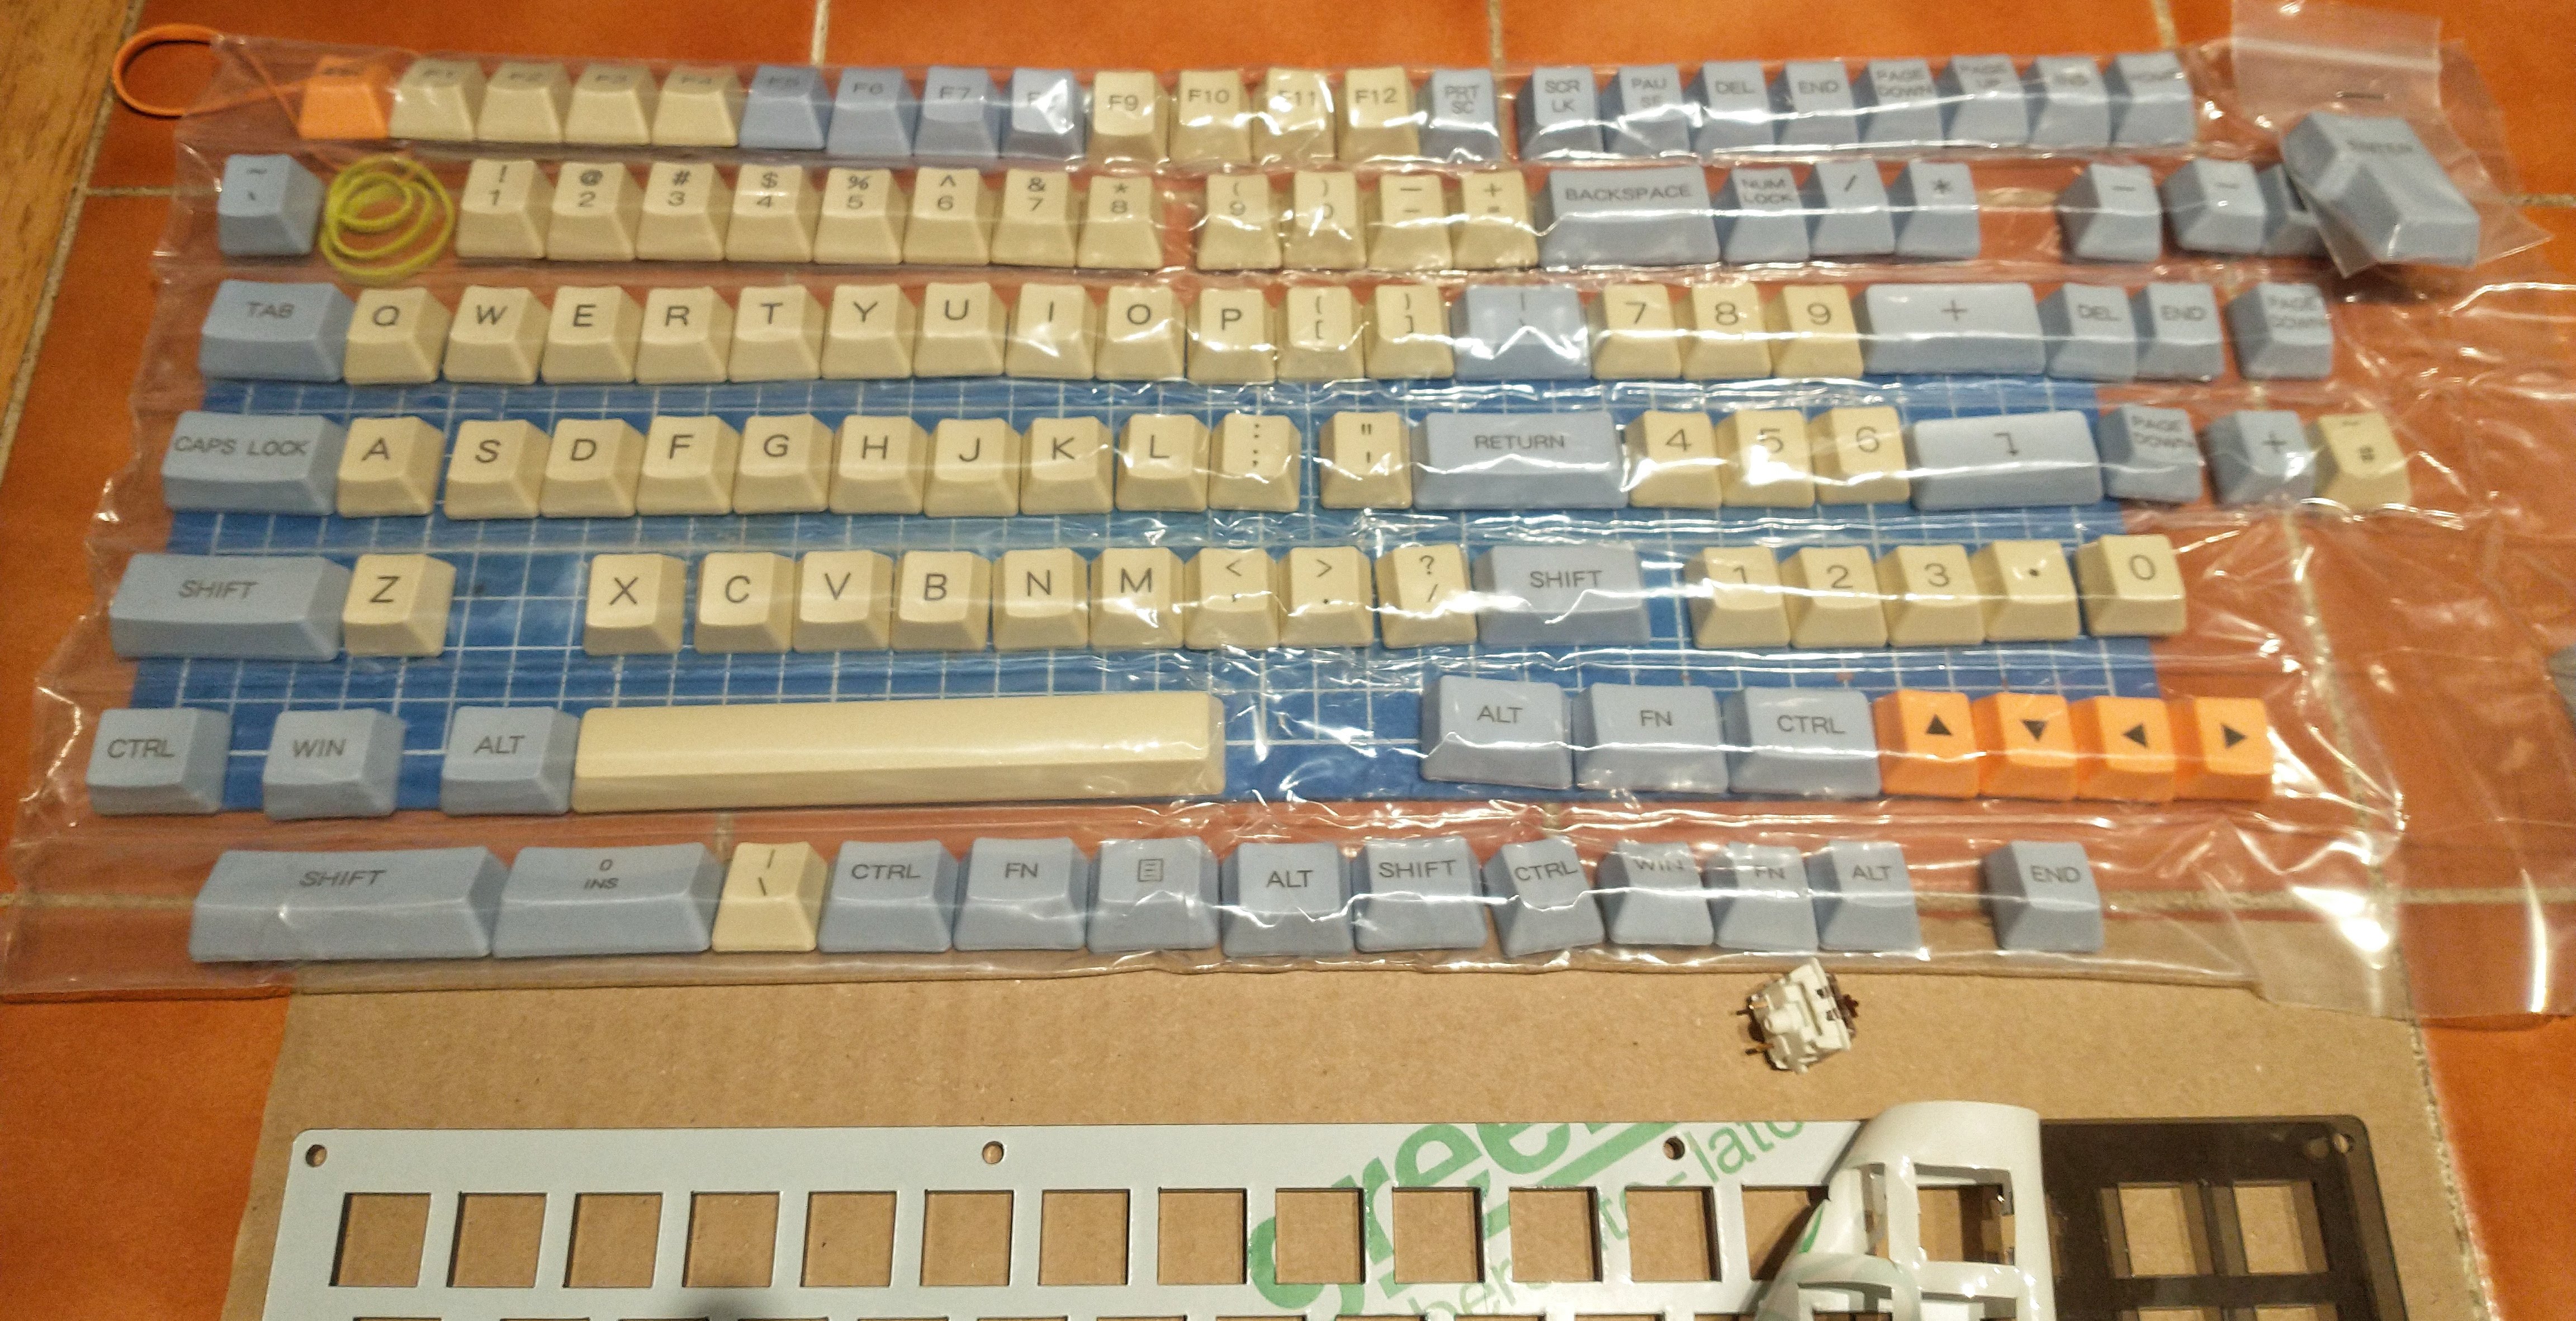
 Then the keycaps …
 And finally the plates, top and bottom, in funky smoked acrylic.
 Time to get busy.
The Switch Plate
Now, here’s the thing. Most switches on the market, including the Gaterons that I got, follow the cherry standard. They’re designed to clip into a switch plate that is 1.5mm thick. A 1.5mm acrylic plate isn’t going to be robust enough for plate mounting and hand wiring the switches, so i ordered the plates in 3mm Acrylic.
Given a thicker plate, there are a couple of solutions. One popular one is to just hotglue the switches in. Little inelegant I thought, so I decided to rout out a small bit of the switch surrounds, just so the switch would have that small bit of 1.5mm thick acrylic to clip into.
What I hadn’t considered was the stabilisers. They also need a 1.5mm section of plate to clip into, but a lot more space, and in ADDITION to that there’s the stabiliser bar, which also expects a 1.5mm plate.
In short, I ended up doing a lot more dremelling than I’d anticipated. In future I think the majority consensus will prevail, and if I’m plate mounting I’ll get a 1.5mm ALU or stainless steel plate.
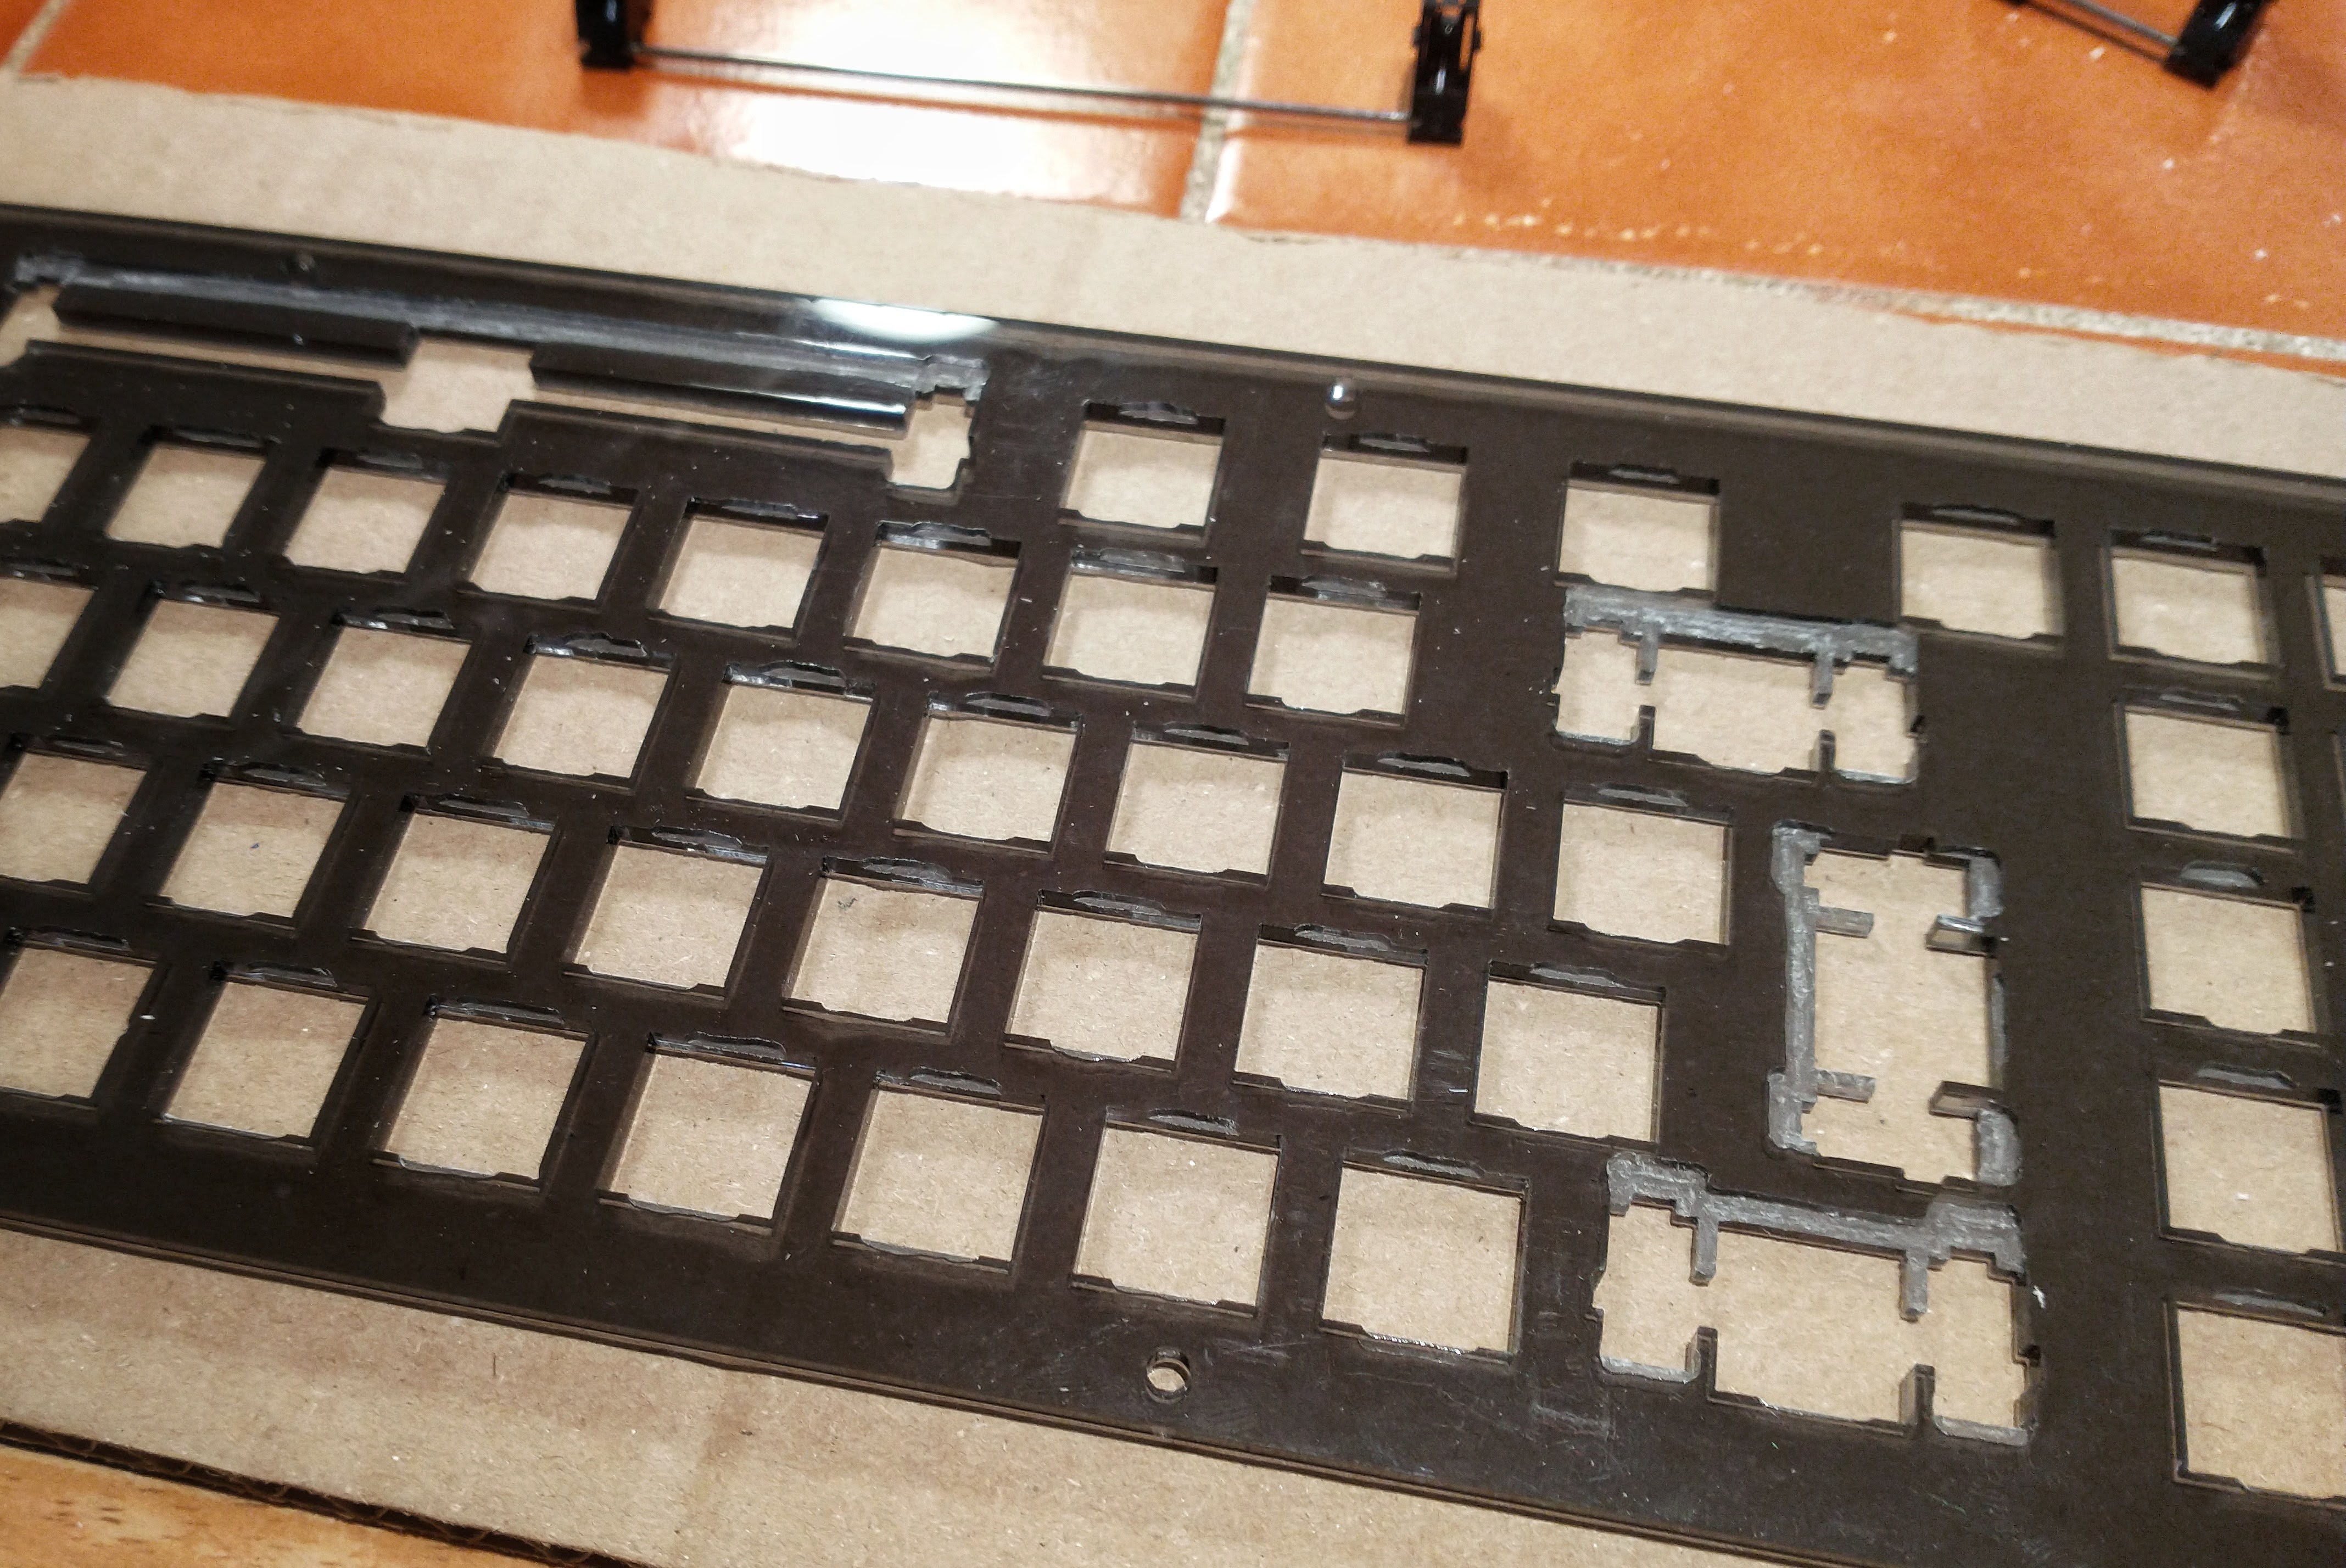
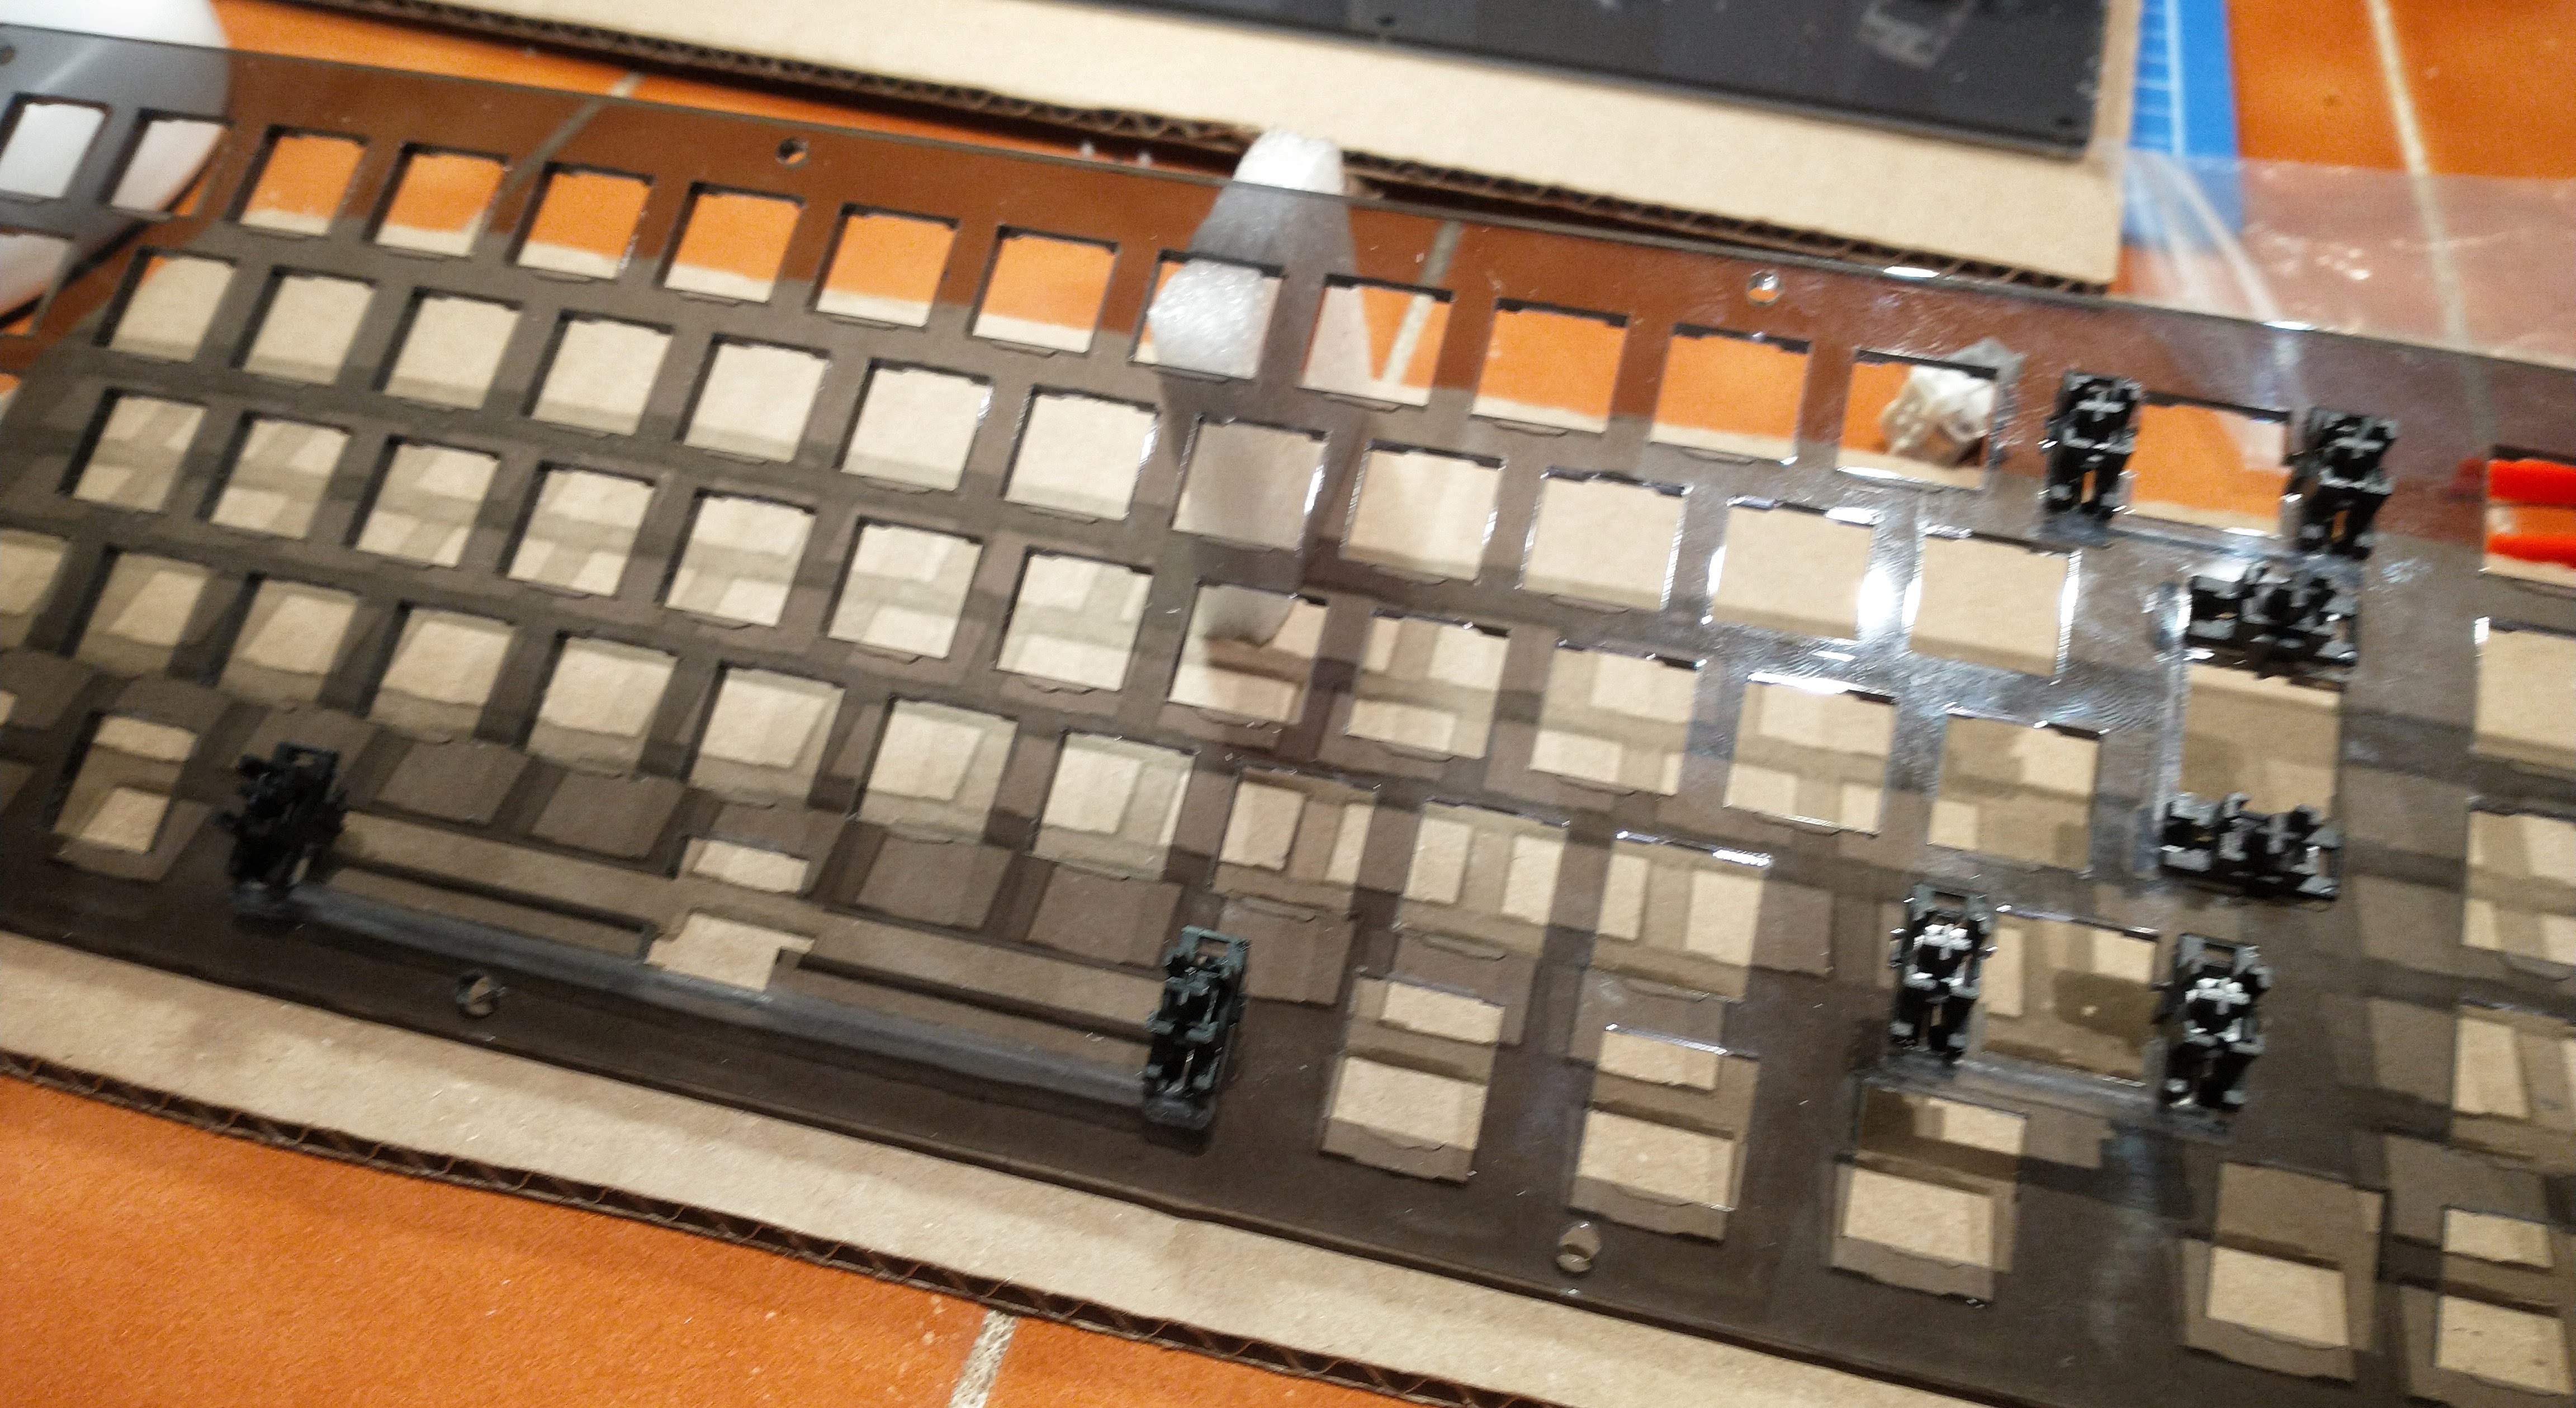
This is what the plate ended up looking like, note the long routed out section for the space bar stabiliser.
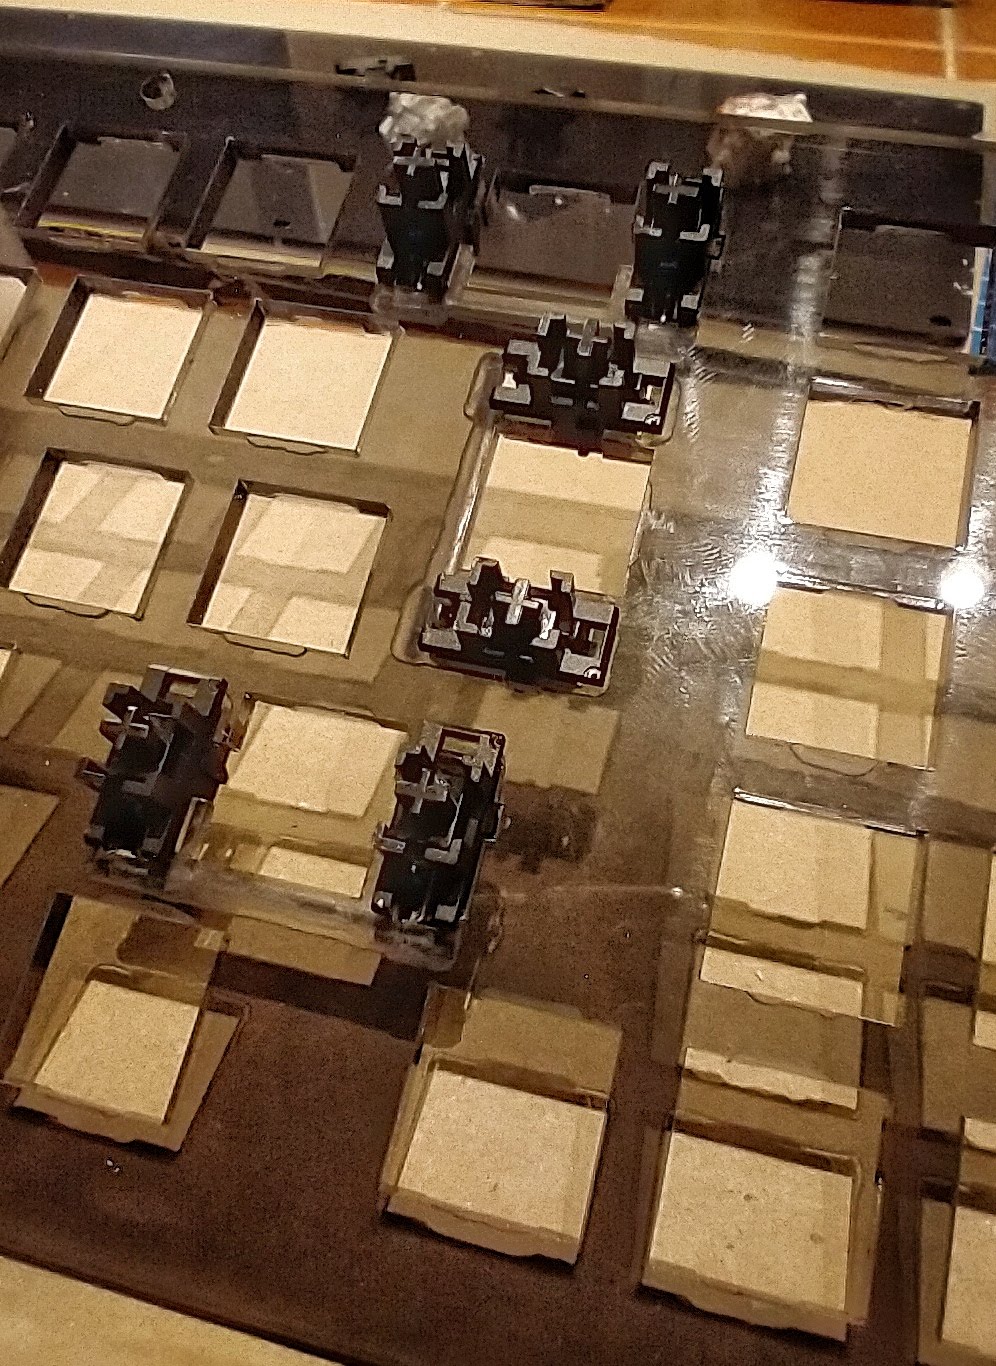
And a closeup of the stabiliser group on the right:
The Switches
Having finished that though, and gotten the stabilisers fitted, the rest of the switches could be clipped into place. This was the eventual switch layout I chose:
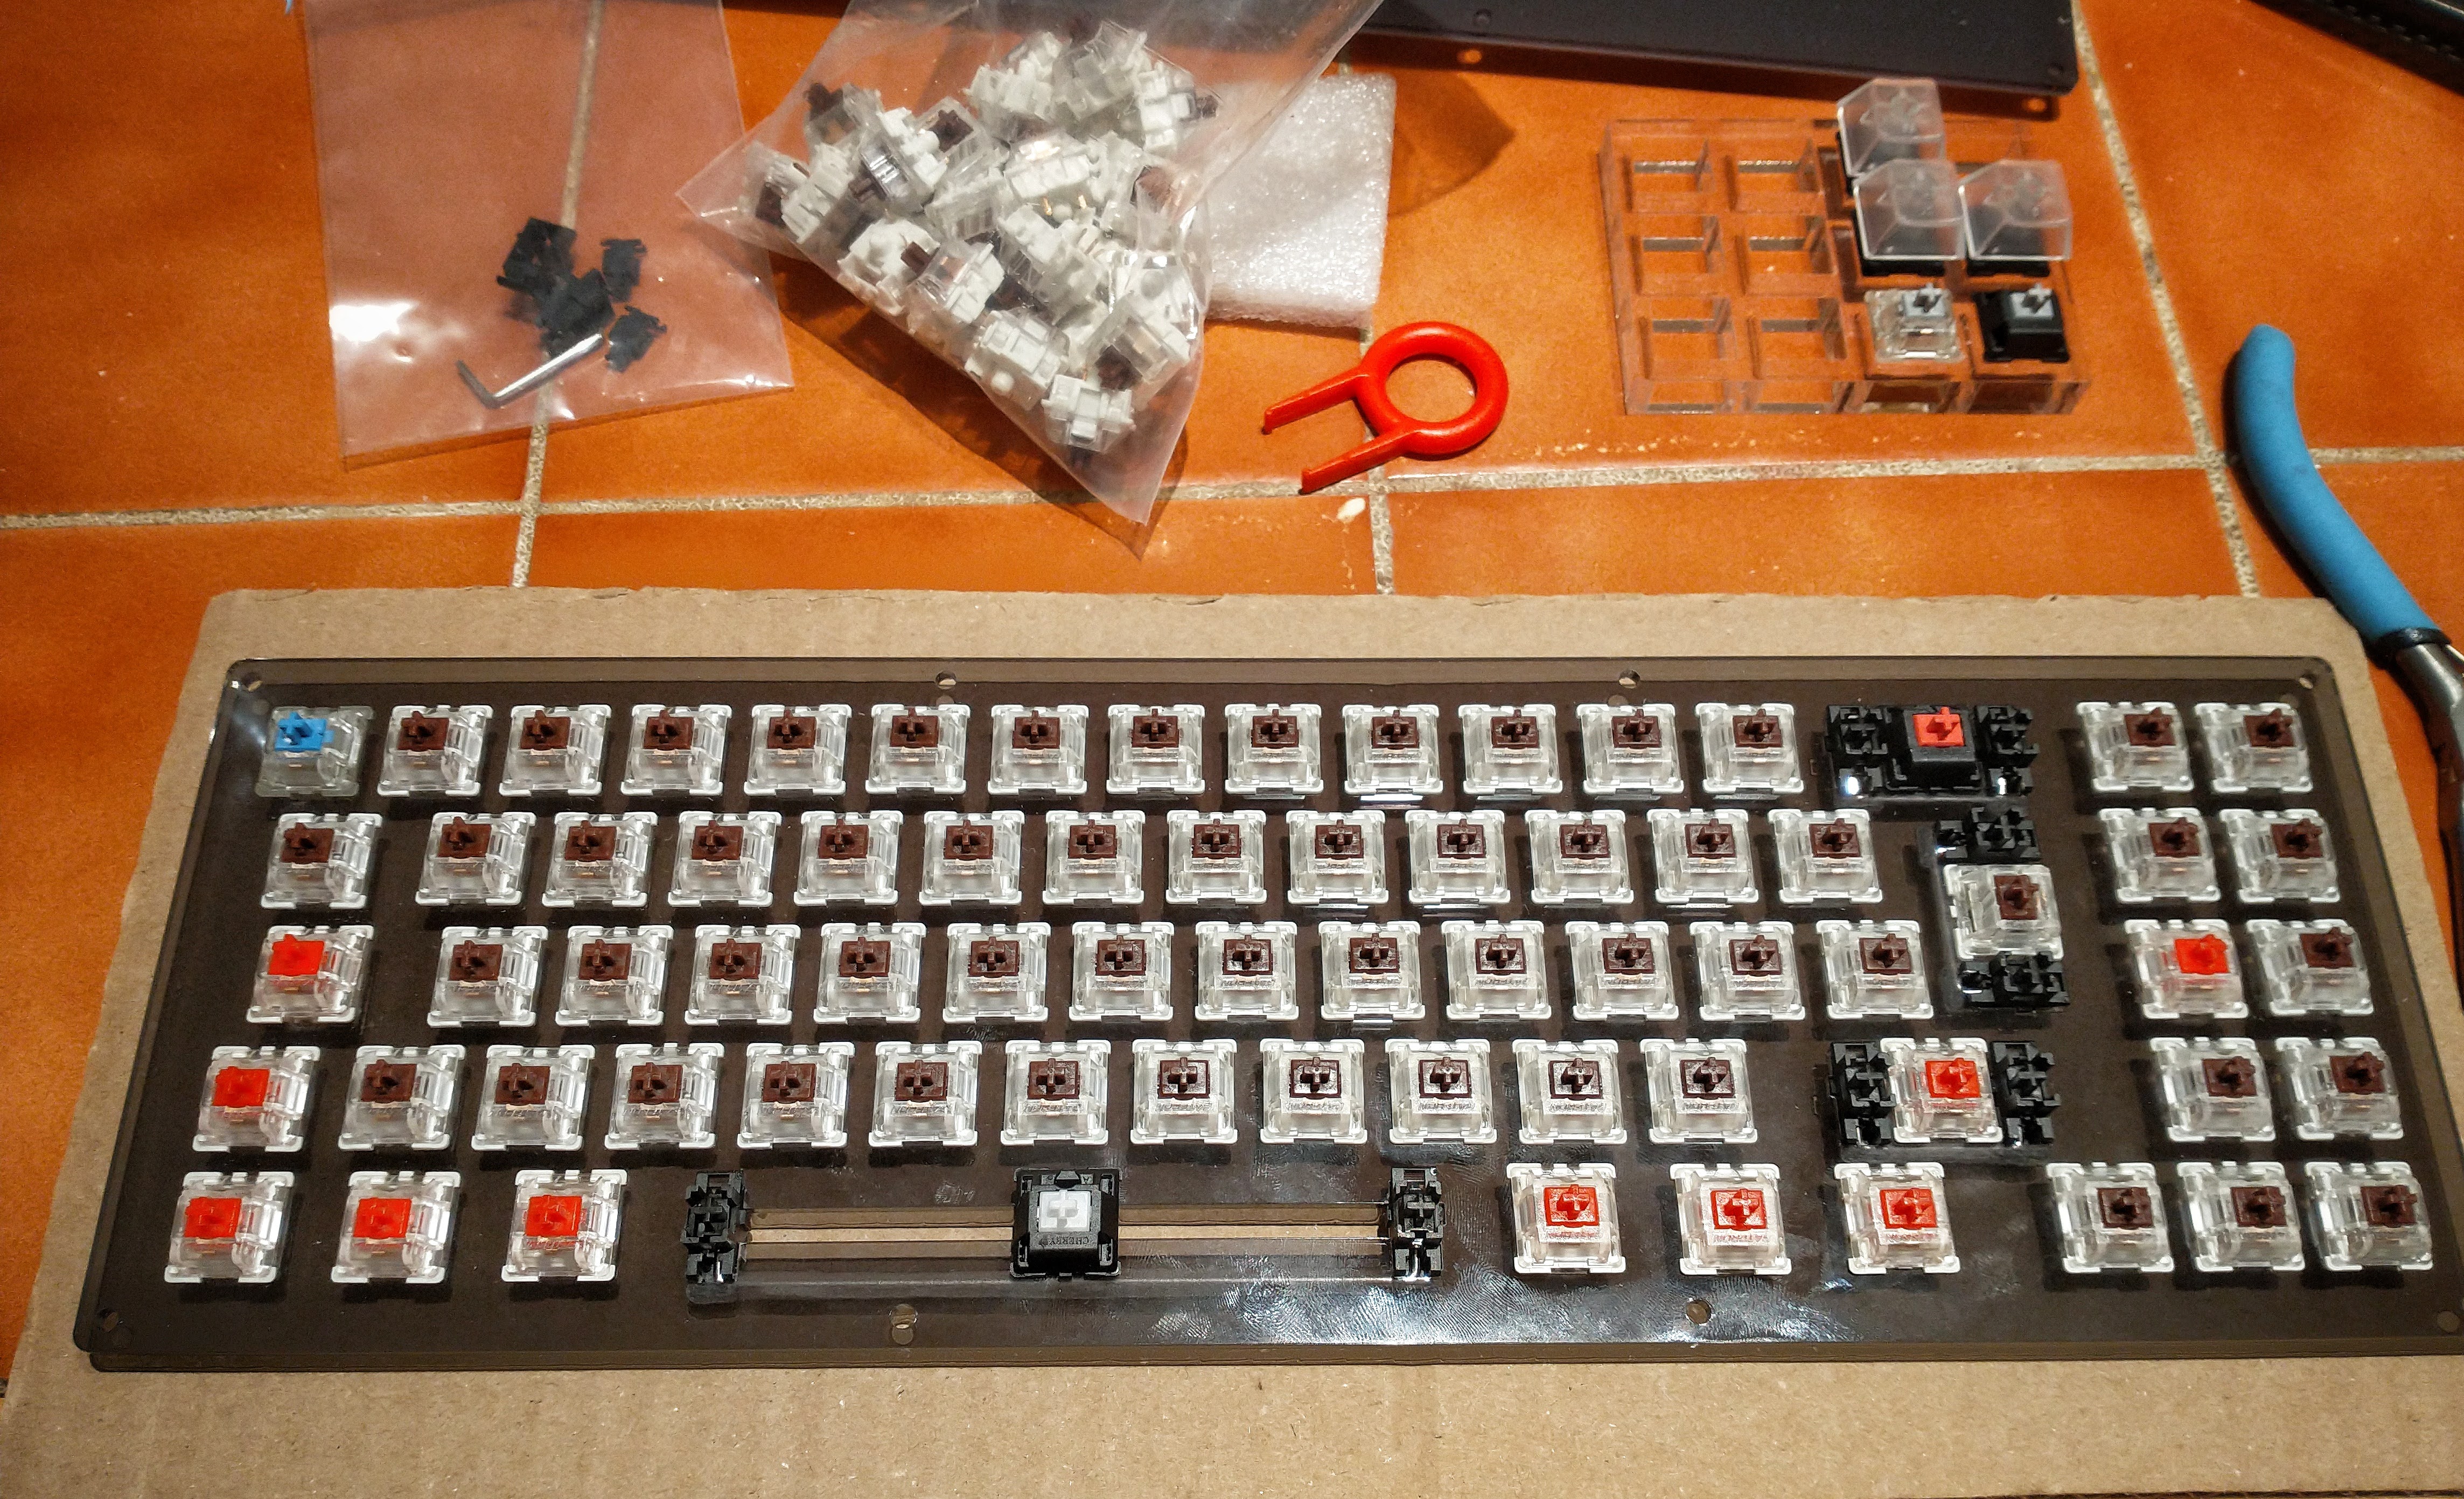
All the alphas are on tactile Browns, I’m using them in my current keyboard and like them a lot for general keys. The mods, shift, ctrl, FN, etc are all on linear Reds. Little bit easier to actuate and hold down, particularly on the pinky. My current board I modded to put a Speed Silver on the right hand pinky shift but it’s proven if anything too sensitive so a Red seems like a good compromise. Cherry clear on the space bar so a little more oomph there, and a silent red on the Backspace,because I’m a divil for the backspacing.
Finally, a nice clicky blue for the ESC key because you gotta just know when you hit your ESC.
Next up, wiring it all up…